This is the last part in the series, see part 1 and part 2
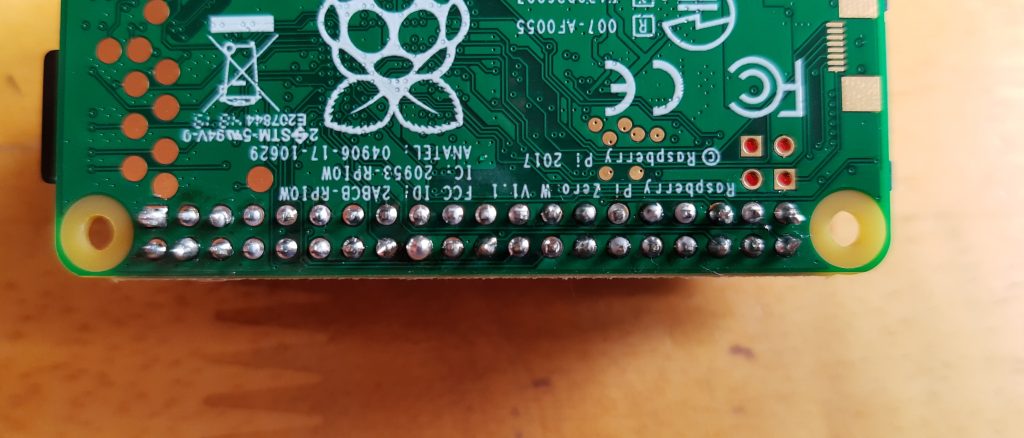
Now I have all the pieces of the puzzle, it’s time to put them all together. The first job is to solder the GPIO header onto the Raspberry Pi zero W. A relatively straightforward task although I’ve not soldered for many years, so don’t judge me! There is an excellent guide here
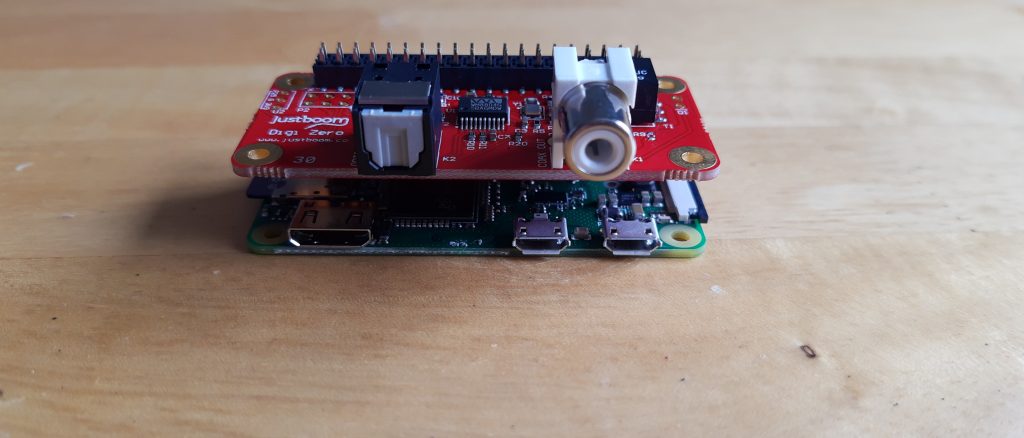
I’ll be putting the Spotify receiver in a case, which needs a header and then the DAC hat on top of that. I went with JustBoom Digi Zero as it was specifically made for the pi zero.
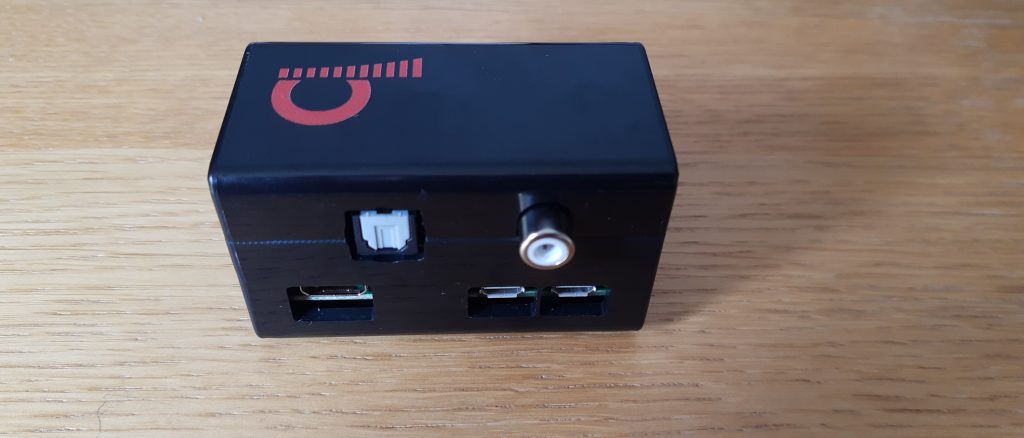
They also make a case, which I ordered with the DAC just to make it look pretty. When I can get approval from the financial controller (wife) I will start 3D printing things like this.
A small change is needed in the Raspberry Pi /boot/config.txt file to make the DAC work.
#dtparam=audio=on
dtparam=audio=off
dtoverlay=i2s-mmap
dtoverlay=justboom-digi
Next to make our cute little DAC work with Spotify we will install raspotify. This installed really easily with the script
curl -sL https://dtcooper.github.io/raspotify/install.sh | shOther options for install are listed on the GitHub page https://github.com/dtcooper/raspotify
The only setting I changed was the bit rate for higher sound quality in the config file /etc/defaults/raspotify
BITRATE="320"After a quick restart, everything was running as expected. I plugged it into my amplifier and connected with Spotify
It sounds great, much better than the Bluetooth receiver I was using previously.
Big thanks to dtcooper for releasing raspotify and also Paul Lietar for librespot which is used by raspotify. Will definitely we donating once I’ve worked out bitcoin mining with a Raspberry Pi.